My first plane rehab - a Stanley #5 jack plane
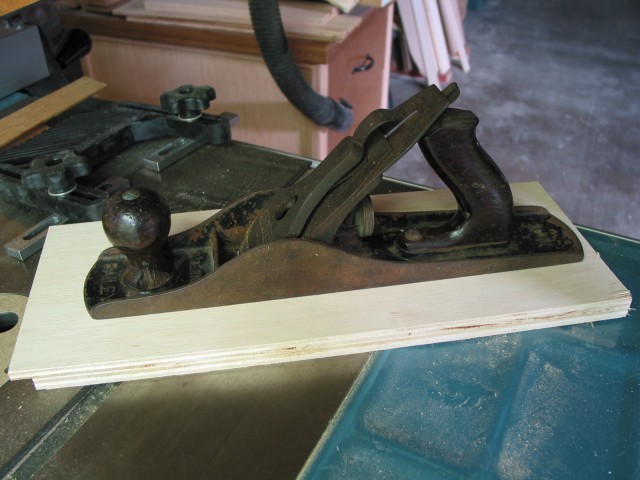
The plane before rehab - it is in worse shape than it looks.
I had read many intriguing posts on the Neanderthal forum on Sawmill Creek about rehabing old planes, so I finally took the plunge and purchased a Stanley #5 on ebay for $20. When it arrived, it was in a lot worse shape than I expected. The handles were loose, chipped, split and essentially unusable. The blade was bent and looked like it had been sharpened on concrete. There was a great deal of rust and some pitting.
I figured at this point I had nothing to lose. My first task was to completely disassemble the plane and do a thorough inspection. I had read on the web that some people soak tools in a citric acid solution to help remove rust. I didn't have any citric acid, but I did gave a gallon jug of plain white vinegar which I figured would work, at least for a first rehab attempt! I made up a solution of roughly 1:10 (completely by eye) in a plastic tub and submerged all the non-brass parts over night. The next day I went to work with steel wool and 400 grit emory paper. The vinegar bath seemed to have worked quite well, and after an hour or so of vigorous scrubbing most of the components looked much better. There was still a fair amount of black corrosion on some of the parts, but pretty much all the surface rust was now gone. I did notice a tendency for each part to very quickly develop a light rust coating as fast as it dried, so after going over the effected parts a second time with the steel wool I immediately dried them with a soft towel and applied a light coating of machine oil. This seemed to solve the problem.
I had to figure out a way to replace the unusable tote and knob, so I searched on the internet for "rosewood replacement tote", and got several hits, including one at The Best Things, which sells "slight second" knob and tote sets for $17. I ordered one of those, and when it arrived I realized that the store is located in Herndon, VA, just outside Washington, DC where I live. I had to do a little fiddling to get the tote to fit properly, specifically, I had to drill out the front screw hole (an indent is provided on the underside) since the #5 tote requires two screws. For the rear attachment - the one that consists of a long rod with threads at each end and a brass knob - I had to make several "washers" out of sandpapaper to shim for a snugger fit. These should probably eventually be replaced with some sort of leather washer, but sandpaper was all I had on hand.
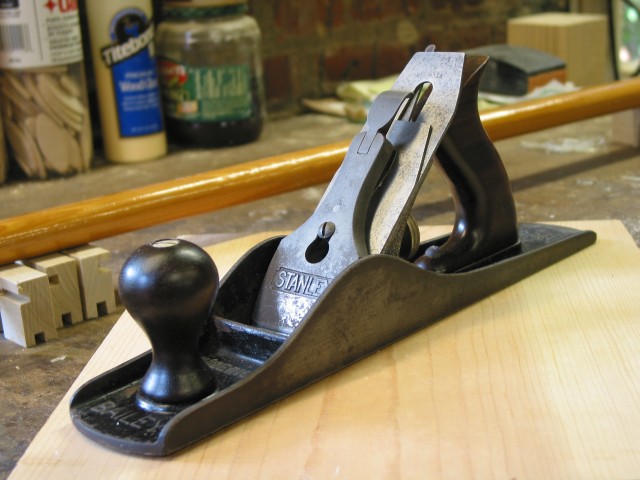
The plane after rehab - not perfect, but very usable
I also spent an hour or so resharpening the blade. How I do my sharpening is a long story in itself, so I will only mention that I lapped the blade and established the initial bevel of 25 degrees on a medium diamond stone (this was the hardest part - it took about 1/2 hour of steady honing to raise a burr along the entire edge - a coarse stone or grinder would have been more appropriate), and then refined the edge using a DMT fine/very fine combination diamond stone (red and green dots). I didn't create a secondary bevel - in the back of my mind I have an idea that I will replace this wolefully illtreated original cutter with a Hock. The final step was to polish the brass parts (adjustment wheel and the knobs for the tote and front handle) with brasso and reassemble the plane.
The result was a very reasonable user plane - at least to my relatively inexperienced eyes. Not perfect by any means, but I learned a lot, and it now produces some lovely shavings in soft pine.
All in all a very interesting experience, I learned a lot, and am now looking forward to purchasing a #7 in reasonable shape on ebay. I sometimes build rustic furniture, so I anticipate that this #5 jack will see heavy use on some rough planks.