Various rustic furniture projects
|
|
|
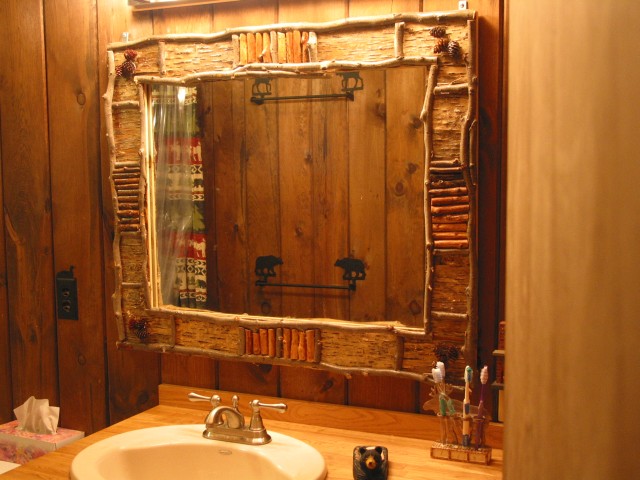
Rustic bathroom mirror. [right] One of the first rustic furniture projects I finished was a frame for a bathroom mirror, as part of a major overhaul of the bathroom in our camp. The mirror had originally been hung unframed, and was secured to the wall by a couple of homemade cleats. I first built a traditional frame from 3/4" pine, and then I decorated the frame with a birchbark and twig motif. In order to attach the birchbark to the frame, I spread a diluted white glue mixture (Titebond), and I clamped the pieces of bark to the frame with cauls wrapped in wax paper. The seams between the sections of bark were concealed by twigwork. I have to confess there is something very liberating about not having to fret about a perfect joint or seam because any sloppiness can simply be covered up with a twig! Overall I am pleased with the result, and so is my spouse (which is a good thing). |
|
|
|
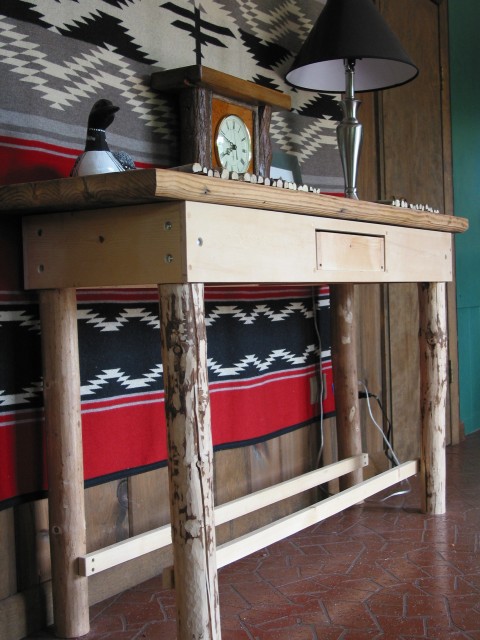
Hall table - not yet completed [left and below] My current rustic project is a hall table of my own design. Up front I should say that I am not as pleased with this design as I might have been. As you can see from the image, the legs attach behind the aprons, instead of having the apron run directly into the leg as it does with most tables. I think this makes the table look clunky (well, ok, I concede that any table with logs for legs is going to look somewhat clunky by definition, but I think my joinery approach increases the clunkiness). The main reason I chose this method was because I didn't want the challenge of mortising or pegging the flat end of the apron to the curved leg. But in retrospect, I probably could have figured some way to butt the apron directly to the leg. As it is, I ended up sawing flat faces in the logs at 90 degree angles for the aprons to seat against, and then simply attached the aprons with countersunk carriage bolts. The carriage bolt heads will be concealed by the surface treatment, which will consist of half rounds of twigwork. The nuts will remain accessible behind the apron, so the table can be tightened later if necessary. |
|
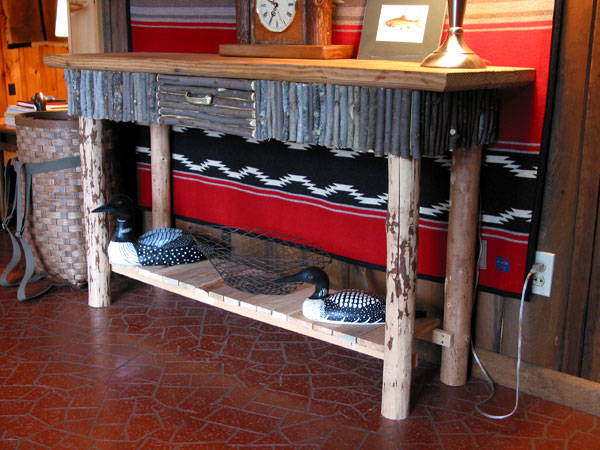
Hall table - complete!
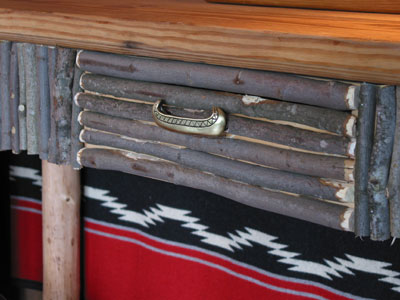
Hall table - detail of drawer |
|
|
|
Rustic picture frame
[right] Finally, here is an example of a rustic picture frame. Design and construction is virtually identical to the mirror project described above. The main difference is that I lazily omitted the birchbark surface treatment. A couple of construction details: I join the frame using biscuits. The frame is unmitred - I just use butt joints, which are more than sufficient when combined with glue and biscuits. I rout a rabbet in the back to hold the glass, mat, artwork, and a backer mat. Because the rabbeting bit leaves rounded corners, I need to square these up with a chisel. To secure the the artwork in the recess, I cut a piece of 1/4" plywood - usually with one side having a nice veneer - slightly larger than the frame opening, and I attach it to the frame with countersunk 3/4" wood screws. Before I place the artwork in the frame, I apply several coats of satin polyurethane. If the project has a lot of three-dimensional decoration (i.e.-twigs, pinecones, etc), I use a spray can for this. |
|
|
|
For people interested in rustic furniture, there are a couple of authors who can help get you started in the right direction. Ralph Kylloe, who owns a furniture gallery in Lake George, NY, has written several gorgeous coffee table books on rustic houses and furniture. Almost anything by him is a good starting point - for example Rustic Artistry for the Home or Rustic Traditions. Kylloe's books are lavish, both in production values and in subject matter. A more practical alternative is any of the books written by Daniel Mack, a rustic chair and furniture builder. Rustic Furniture Workshop does a particularly good job of covering basic tools and techniques. Overall, Kylloe's books are great "idea" books, while Mack's are much better on the "how to" side of things. |