Assorted rustic lamps
|
|
|
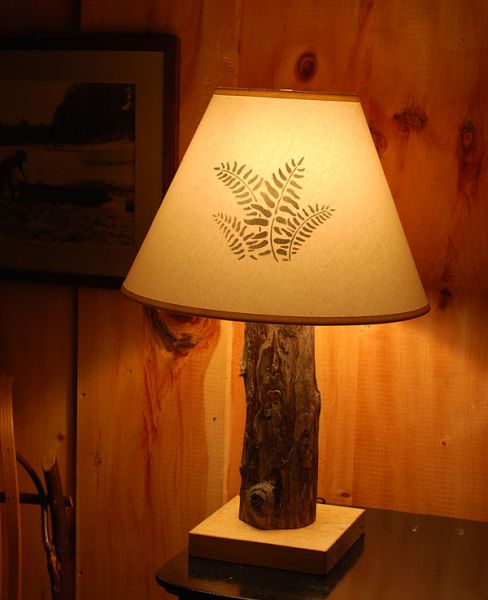
Lamp #1. It has an identical (almost) twin. [right] I cut the fern stencil with a sharp Exacto knife, sprayed the back with 3M contact adhesive, applied the stencil to the shade and carefully sprayed matt spray paint. It is very important to get the stencil to adhere to the shade as tightly as possible with no little gaps or wrinkles because the spray paint will invade wherever it can find a space between the stencil and the shade. I practiced several times on a sheet of cardboard before I got the hang of this - I really didn't want to waste any shades even though they were cheap $20 Target shades. As can be seen the results were pretty good. On note: I only sprayed the back of the stencil with contact adhesive - that was plenty sticky enough. If I had sprayed both the stencil and the shade I probably wouldn't have been able to remove the stencil without ruining it. If I had to do it again I would have cut the stencil from a sheet of acetate instead of copier paper, the latter being too flimsy. |
|
|
|
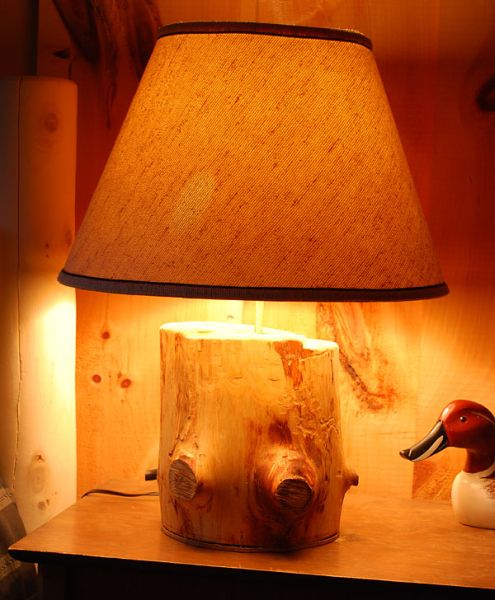
Lamp #2 [left] Note the authentic chainsaw marks. Rustic woodworking sometimes requires rugged, manly work. This came from a balsam that fell a couple of winters ago. |
|
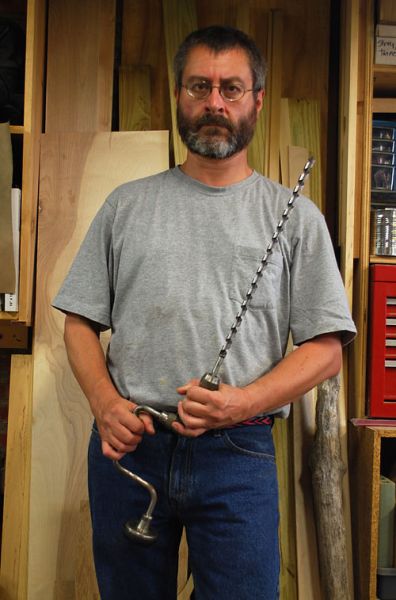
The testosterone is really flowing now!. [right] One question that might occur is: how does one bore a hole lengthwise down the center of a foot long section of log to serve as a channel for the electrical wire? What kind of bit is used? How is it kept plumb during its journey through the log? It might be possible to do this on a drill press, but in keeping with the spirit of hand craftsmanship, I elected a different strategy. (Also, since I have a benchtop drillpress, it would have been difficult if not impossible to get the bit and the log under the head of the drill.) First, I purchased an 18" 1/2 inch diameter auger bit from Lee Valley. These are surprisingly inexpensive - about $15. This I chucked in an old fashioned brace - let me tell you, if that doesn't get the juices flowing then you should take up another leisure activity! I started with a short pilot on the drill press using a standard length 1/2 bit. This hole was only 2-3 inches deep, but that was sufficient to keep the brace and bit properly aligned until it was well engaged in the log. Drilling was suprisingly hard work, requiring a lot of pressure on the brace. I was very conscious of the slenderness of the central element of the auger and I worried that it might snap, but so far it has held up fine. It takes about 15-20 minutes to work through the entire length of a 14" section of log, and by the end it is very tough going. Then the bit has to be reversed and backed all the way out, which is considerably easier. |
|
|