A pair of Adirondack chairs
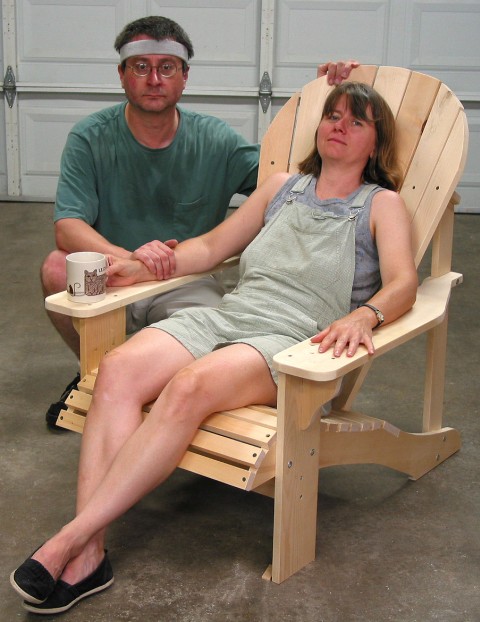
One chair complete (no finish) in our garage.
One of my first woodworking projects after we bought our seasonal camp in upstate New York was a pair of Adirondack chairs. Our camp was initally furnished with an assortment of somewhat run down third hand furnishings, which, although they served perfectly well for our initial trips, were in need of augmentation and in some cases replacement.
The first step was to locate a suitable set of plans. Now, to be sure, there are many sets of plans available for free or for a modest cost on the internet. The key criteria for me in choosing a plan was comfort. I was concerned that the classic Westport design consisted largely of flat planes, which did not strike me as particularly comfortable or aesthetically pleasing for that matter. Because these chairs were destined for our living room, I wanted them to be comfortable enough to sit in for an extended period of time. So I was fairly sure I wanted a contoured seat and a curved back. My father, who lives in Webster, New York, had previously built a chair from the plans offered by Lee Valley which featured a seat so deeply contoured that it is difficult to get in and out from, and had a tendancy to cut off circulation in a sitter's legs after a while. I didn't want a rocker, I didn't want a folding version, nor did I want an overly contemporary interpretation. Eventually, while browsing in Borders, I came across a very attractive set of plans in the book "Better Homes and Gardens Furniture Projects" published by Wood Magazine.
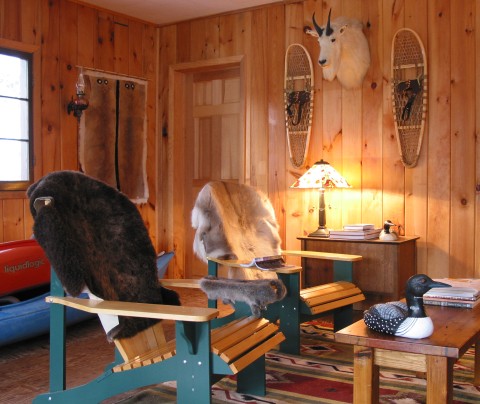
Both chairs in the living room of Ottowana
Construction was straight forward. I used select 3/4 inch pine from Home Depot throughout. For the more complicated curved shapes, such as the stringers, back rails, and arms, I cut templates based on the printed plans from 1/4 inch luan plywood. The other cuts were simply measured and cut directly on the lumber. All hardware is deck screws in various lengths, except for the carriage bolts which secure the legs to the stringers. To cut the slats I built a simple adjustable tapering jig to use on my table saw. Since these chairs were destined for interior use, I elected to apply a two tone finish, with the lower portions of the chair a dark green color, while the seat, arms, and slats received three coats of clear polyurethane. One interesting aspect of the construction is that I first assembled the chairs in an unfinished state (as can be seen in the upper photo), and then completely dissassmbled them to apply the finish. After drying, the individual components were bundled up in bubble wrap for the trip up to our camp, where final assembly took place.
Overall I have been pleased with the chairs. I often sit in them for long periods of time in the evening while reading, and they are quite comfortable. If I had to do it over again, I might explore using the 4/4 or 5/4 pine available from Home Depot, for a slightly beefier look and more stiffness. I don't have a jointer or thickness planer in my shop - at least not yet any way - so I am limited to whatever dressed lumber is available in home centers, which in practice means 3/4 inch or standard 2x pine. Could I have bought an adirondack chair in a store for less, especially when taking into account my time? Most definitely, but as any woodworking knows, this is the least important term in the algorithm!