Ceiling Project is Complete (almost!)
|
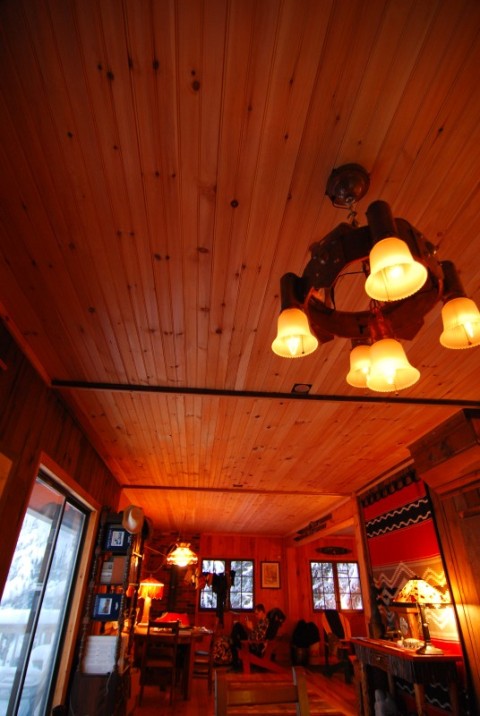
Dining room-entry area-living room run. [right] This is the run of new ceiling from the dining area, down through the entry area, and into the living room. Visible are two of the the electrical access hatches which I plan to cover with removable panels. The two "crossbeams" are actually 2x4s that I nailed to the joists to avoid having to do the entire run of T&G in one fell swoop. They also provide an eyebreak. I plan to box these in to give them a more substantial look, but they are really just fake. Note Otto reading in Adirondack chair close to the wood stove, which is hidden in the far left corner (I actually think he is playing a computer game on my iPad). |
|
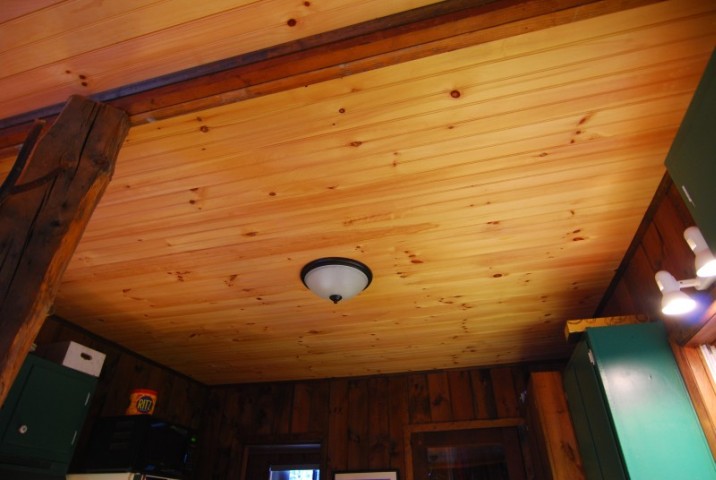
Kitchen [left] The kitchen, with Ed Corrigan's fake rustic support column visible on the left. Exterior door rear right and door to Karen and my bedroom rear left. Working on ceilings requires intensive over-the-head activity and my arms, neck, shoulders, and back would really feel it after I completed each room. At first I simply climbed up and down (and up and down and up and down) a ladder, but then I figured out that if I moved the dining room table into the room I was working on, I could stand on the table and move around for some time before I had to climb down and reposition it. |
|
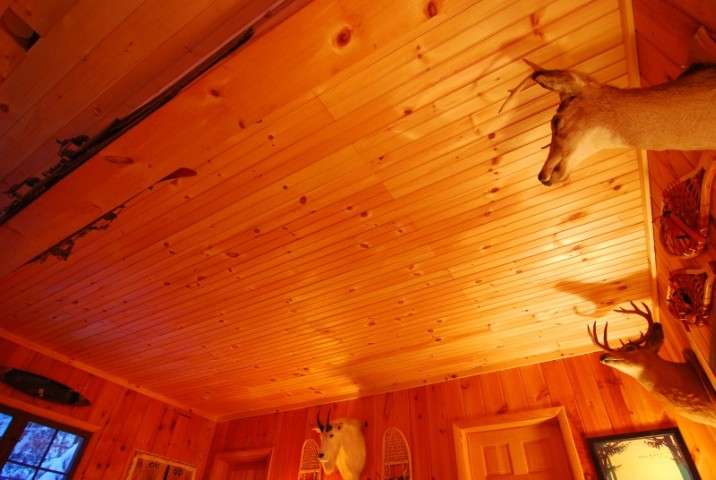
Living room [right] The living room was the first of the "big" rooms I did. It took me about one day to do each room, and I would typically do one or two rooms per summer. The first few I did with hammer, nails, and a nail set while perched on a ladder. It was very irritating whenever I dropped the nailset while working overhead atop the ladder. It was this experience that compelled me to purchase a Bostich compressor and nail gun, one of the best purchases I have ever made! |
|
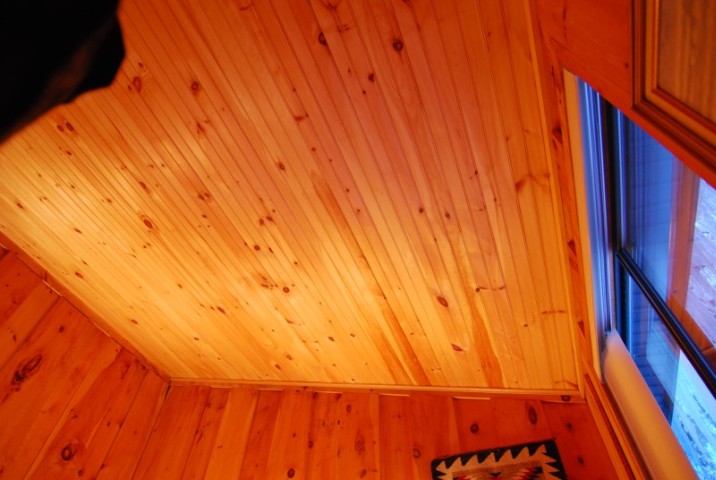
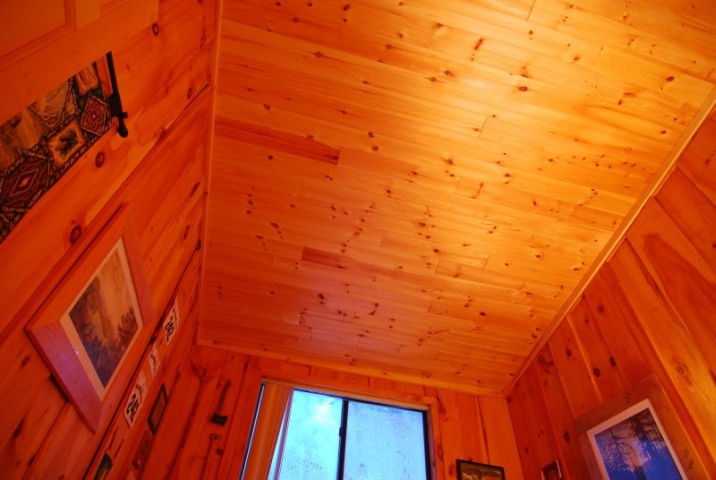
Our bedroom ("The Moles") [left] This is our bed room. The ceilings in all the back bedrooms slant down from the interior wall to the exterior wall. They are about 10 feet high at the peak and slant down to about 8 feet at the back (outside) wall. At some point I realized that it was much easier to buy T&G sufficiently long that I didn't need to cut and fit shorter pieces as I did in the first couple of rooms. For example, the bedrooms each measured about 11x10 feet, so I simply bought 12 foot boards and cut them to length so that I could span the room with a single board. It could sometimes be tricky to maneouver an 11 foot T&G board up into place, engage the tongue of the previous board, and hold it there while I fired in a few nails. But, with occasional help from Karen at the far end, we managed. |
|
End bedroom ("The Old Paddler") [right] This was the bedroom of my late father (The Old Paddler). When we purchased the camp in 2004 the ceiling was simply covered with plastic. This was the first room I did (after the bathroom which is so small that it doesn't count), before I figured out that I should buy boards just long enough to span the 11 foot width of the room, hence the numerous joints. My father's Adirondack 90 Miler numbers and plaques are visible on the left wall. All the wood for the entire ceiling project was purchased at Levy's Lumber in Inlet. Cost per room was about about $200-300. |